
I finished installing my 3 link system from Safari Gard on April 6, 2001. Click on the thumbnail to view larger image.
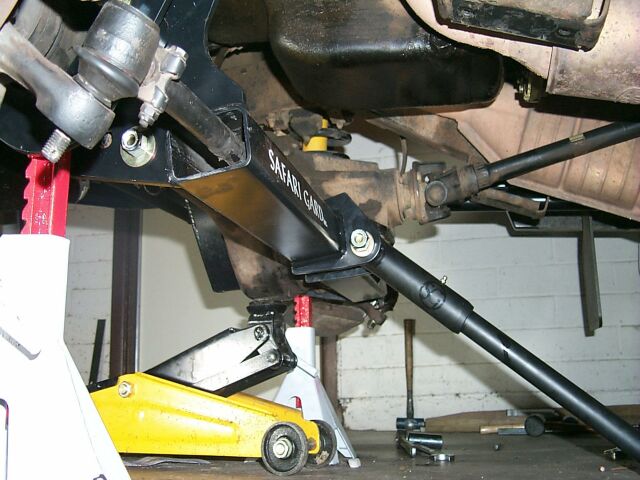
This is the view from just behind the front axel on the driver's side showing the track rod going through the rock gard. The tube laying on the ground is the center link. It attaches to the crossmember that goes right under the transmission. I hadn't yet attached it when these pictures were taken.
View of one of the two Safari Gard replacement control arms. It's a lot smaller than the stock one.
View from the front.

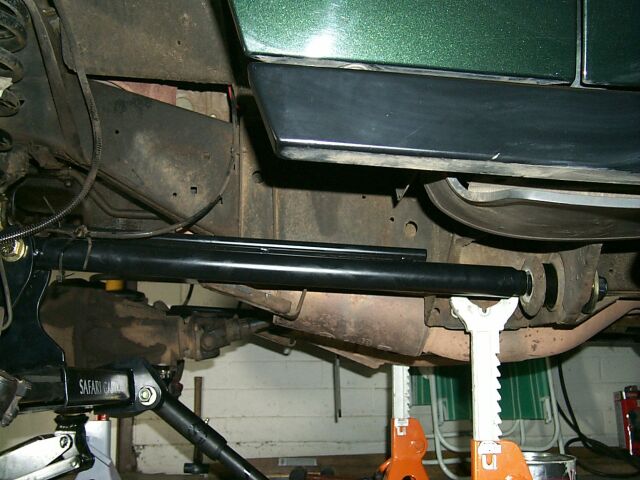
View from behind the front axel on the passenger's side.
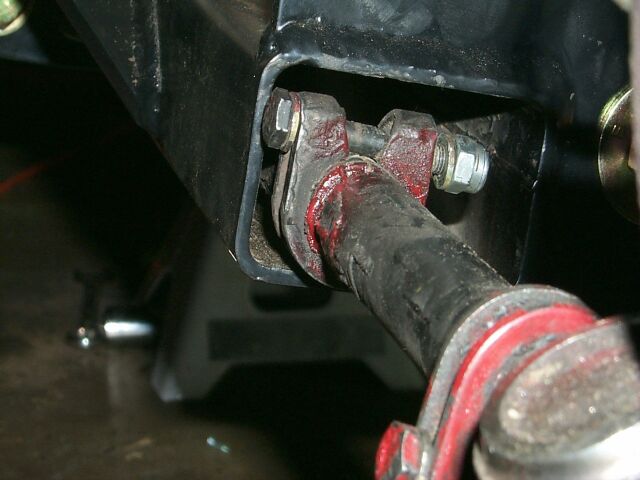
This installation wasn't without its problems. The instructions didn't tell me how to deal with this clamp on the track rod. I called Safari Gard and they had me remove it. I put red paint on the track rod so I would know how far to thread the tie rod ends so I could keep my alignment.

More minor difficulties. I had to ream out the holes where the rock gard bolts onto the diff so it would fit. I trimmed about a millimeter on the right. The holes were pretty big to begin with. I also had to grind the differential a little bit so the rock gard would bolt flush to the bottom.

View of installation from the rear. You can see the Safari Gard crossmember I had to buy to bolt the center link to the car. The other option, welding a bracket to the existing crossmember, just didn't seem nearly as secure to me as buying Safari Gard's crossmember, which is a lot beefier than the stock one. Safari Gard has since 'recalled' the welded on option, for safety reasons.

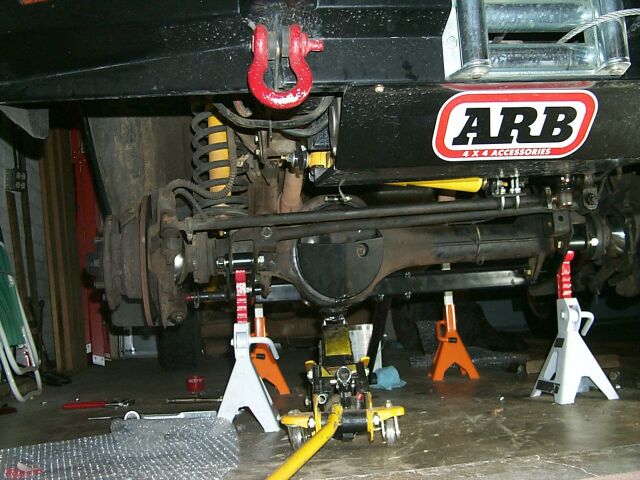
Here is a picture of the 3-link fully installed on the ramp at 4 Wheeler's supply.
Installing the Safari Gard crossmember was a job all by itself. Stock crossmembers fit in really tight! SG's was nearly 1/2 inch narrower, but fit fine. I read later that LR dealers use a special frame spreader tool to get the crossmember out when they change the tranny filters.
The first rock gard I received was about 11/32" too narrow and would not fit on the car. They sent me another one, which was still nearly 1/4" too narrow but I managed to wedge it on with crowbars and elbow grease.
Off road, the articuation in the front is vastly improved. I added CV-style drive shafts front and rear, and that helped too.